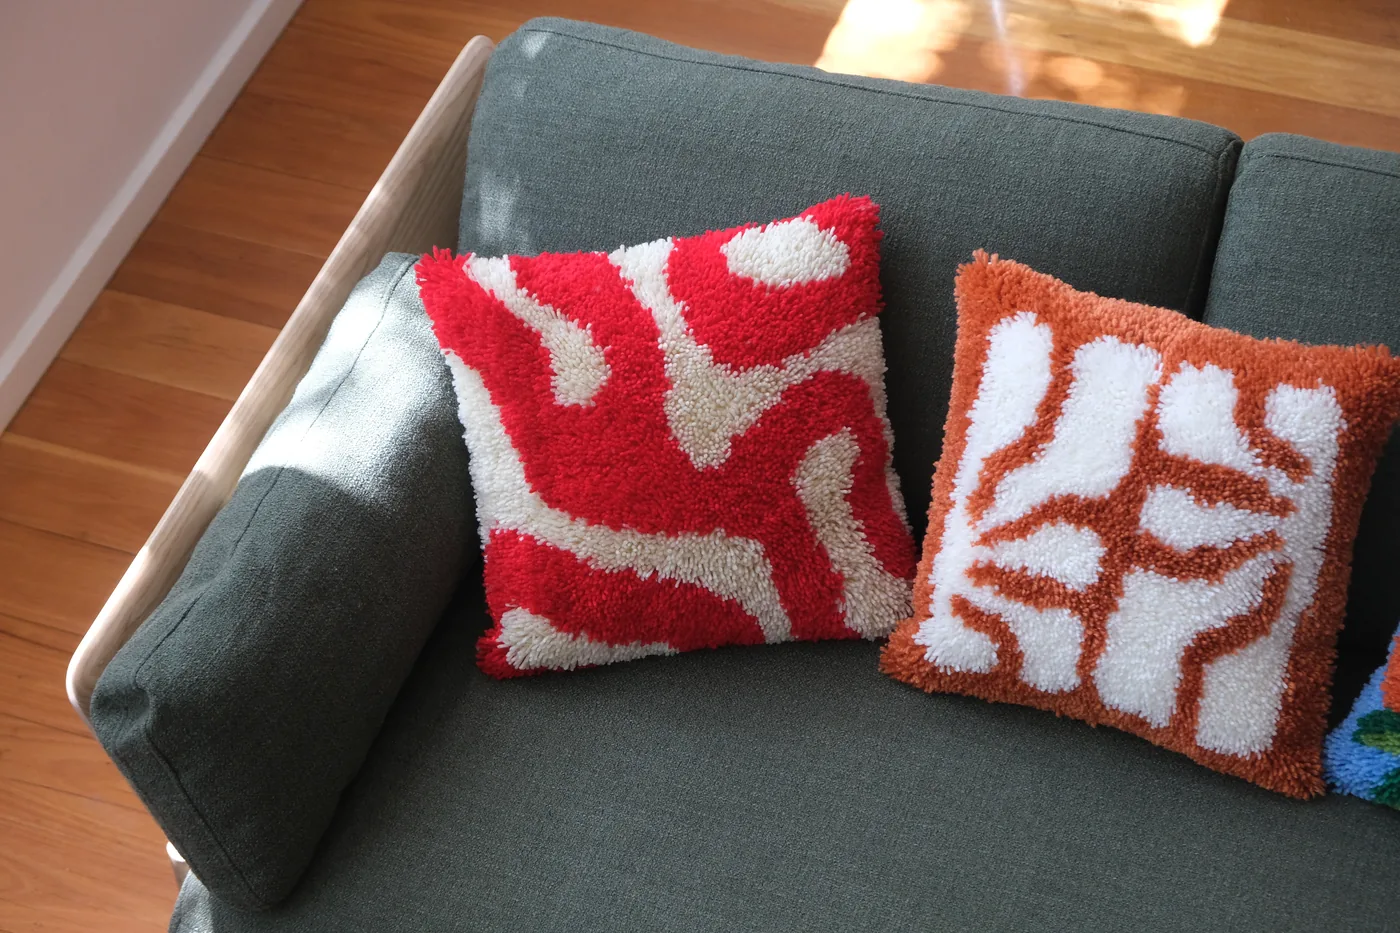
Before anything: tidy the pile
Whatever the piece is becoming, start the same way. Take it outside and give it a firm shake to settle the knots and shed loose fibres. Then a light haircut: snip only the strays that sit clearly above the pile line. Conservative is the rule, since you can always trim again and an over-trimmed pile never fluffs back.
Check the back while you're there. Every knot should sit snug against the canvas; any loose one gets re-tied now (ten seconds each, technique in the tutorial).
Finishing as a cushion
If you're working from a complete cushion kit, most of this is done for you: the worked piece is the cushion front, and the kit's backing and instructions handle assembly. Follow the included steps, drop in an insert, done. (No insert yet? Grab one here, they're $19.00 at the moment.)
Working from a flat canvas instead? The sequence:
Leave margin on all four sides. Flush-cutting is the one unrecoverable finishing mistake: edge knots need canvas to hold onto.
Any sturdy fabric works. Cut it to the worked area's size plus 1.5cm seam allowance all round.
Stitch just inside the last row of knots so no bare canvas shows on the finished edge. Machine or hand stitch both work.
Turn right side out, insert the cushion pad, then close the fourth side with a slip stitch, press studs or a zip if you're feeling fancy.
Finishing as a wall hanging
Trim to 2 to 3cm, fold and secure the side and bottom borders, then fold the top border over a dowel and stitch or glue it into a sleeve. Cord on the dowel ends, one hook on the wall, done. The full walkthrough with design suggestions is in the dedicated wall hanging guide.
Finishing as a rug or mat
Rugs take the most finishing because they get walked on. Three additions to the standard fold-and-secure edge:
Bind the edges. Fold the border back and cover it with rug binding tape (iron-on or sewn), so foot traffic never catches raw canvas.
Back it. A latex backing (paint-on, from hardware stores) or a cut-to-size non-slip rug pad adds grip and takes strain off the knots.
Place it kindly. Latch hook pile handles bedrooms and low-traffic spots happily; hallways and doorways will grind any hand-knotted piece down over time. Full sizing context in the rug kits guide.
Common questions
My edges look wobbly. Did I ruin it?
No. Edge wobble almost always disappears when the border is folded and the piece is either stuffed (cushion) or hung under its own weight. Trust the finish.
Can I wash a finished piece?
Spot-clean with mild detergent and a damp cloth. Avoid machine washing: the agitation is hard on knots and backing. A regular shake or low-suction vacuum handles day-to-day care.
What do I make next?
The classic arc is cushion, second cushion for the pair, then either a wall piece or the leap to a rug. Browse pattern ideas for direction.